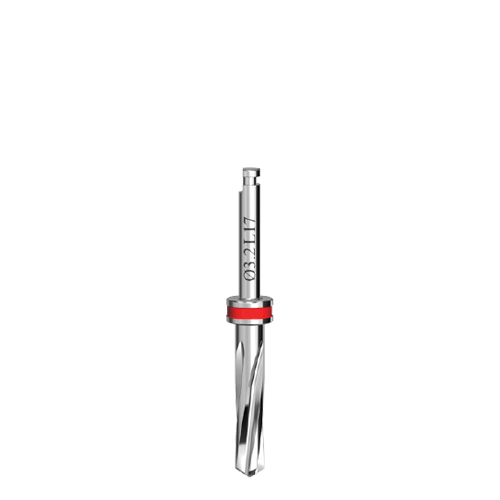
Guide Drill Bit
Guide Drill Bit
Guide Drill Bit
Guide Drill Bit

Handle-Diameter 2.0mm
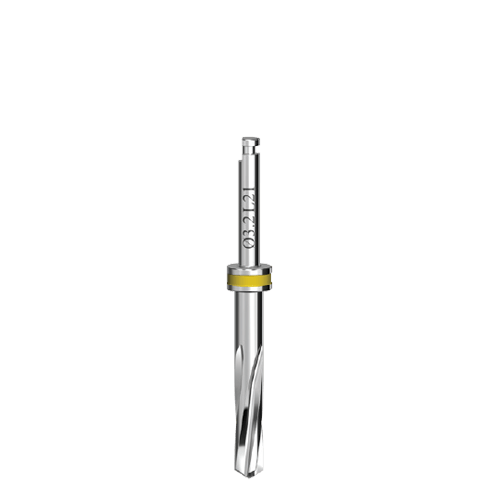
Guide Drill Bit
Guide Drill Bit
Guide Drill Bit
Guide Drill Bit
Handle-Diameter 2.5mm
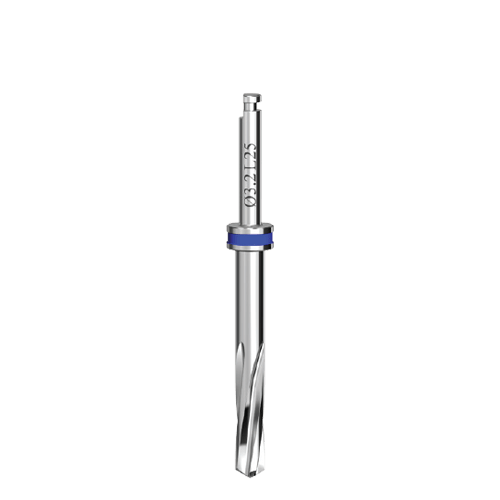
Guide Drill Bit
Guide Drill Bit

Guide Drill Bit
Guide Drill Bit
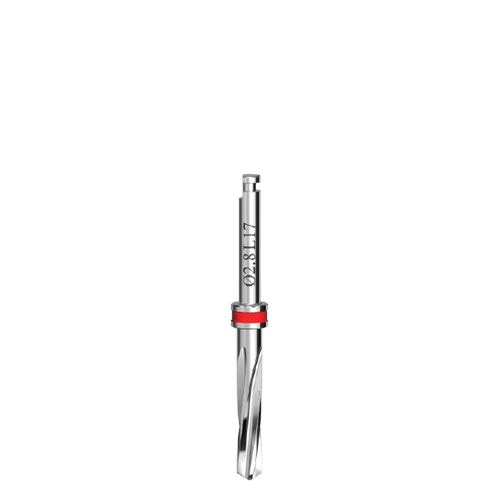
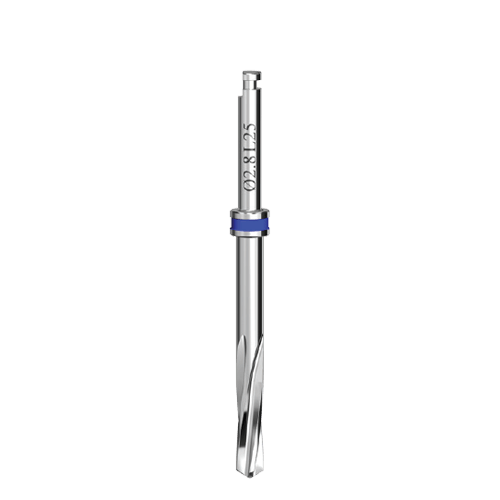
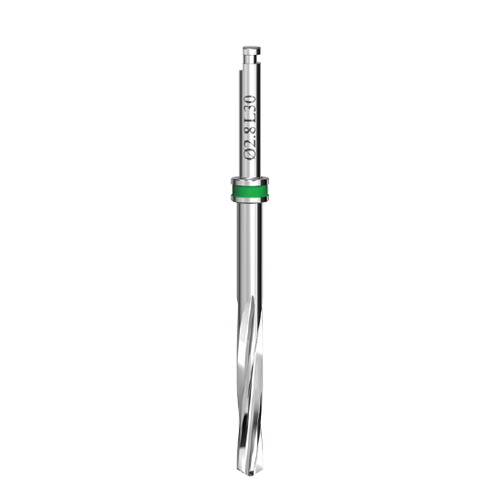
Handle-Diameter 2.8mm
Guide Drill Bit
Guide Drill Bit
Guide Drill Bit
Guide Drill Bit

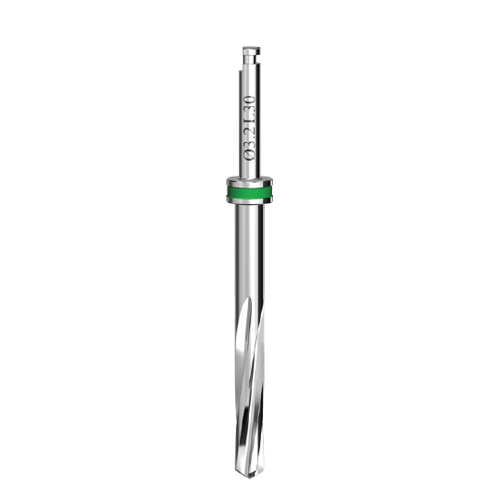
Handle-Diameter 3.2mm
Guide Drill Bit
Guide Drill Bit
Guide Drill Bit
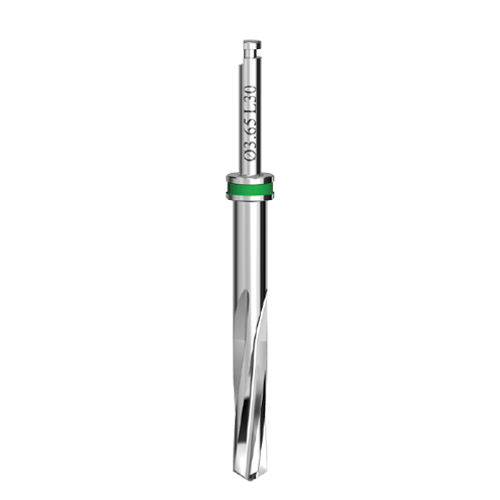
Guide Drill Bit

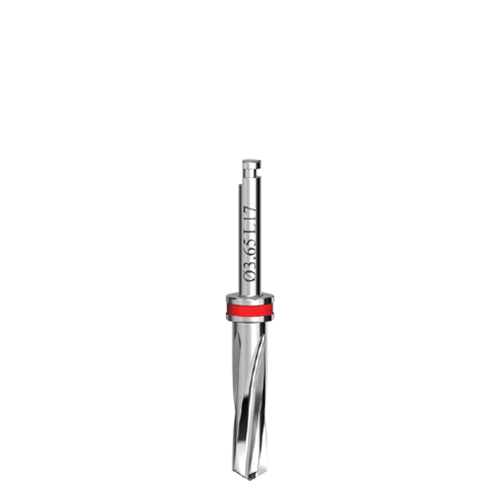
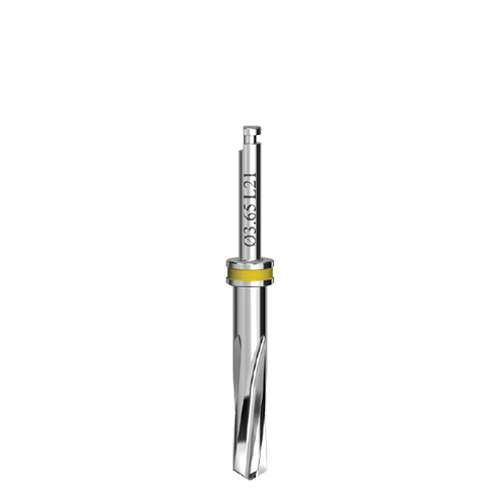
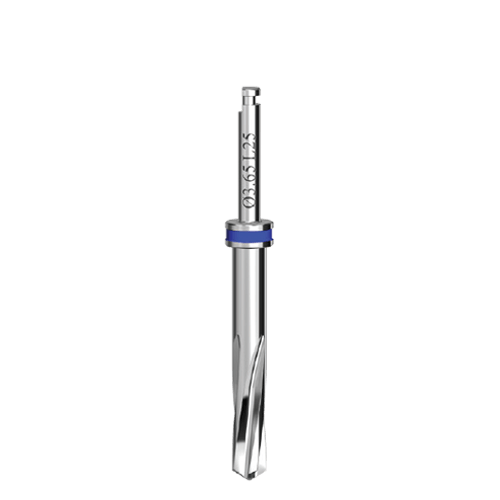
Handle-Diameter 3.65mm
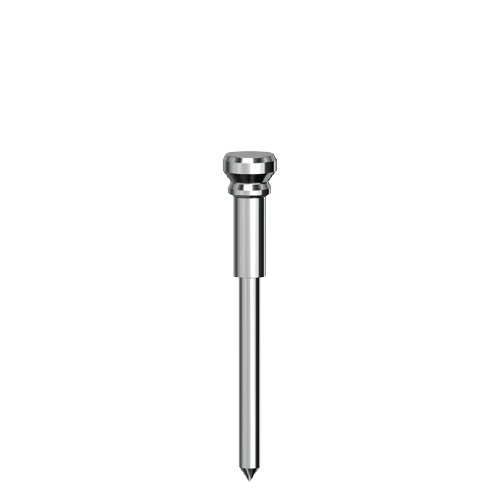
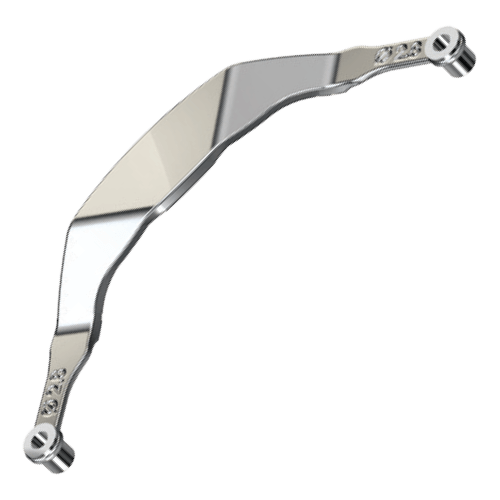
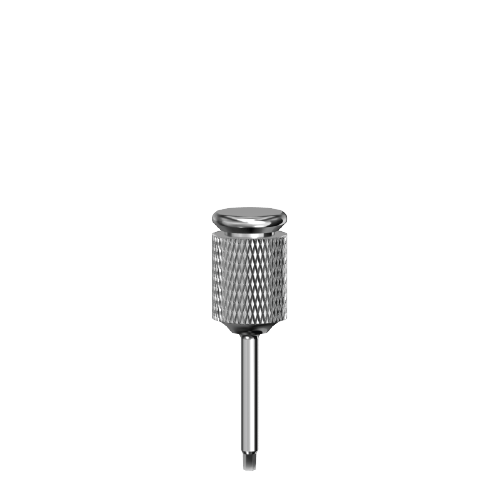
Fixation Pin (x3)
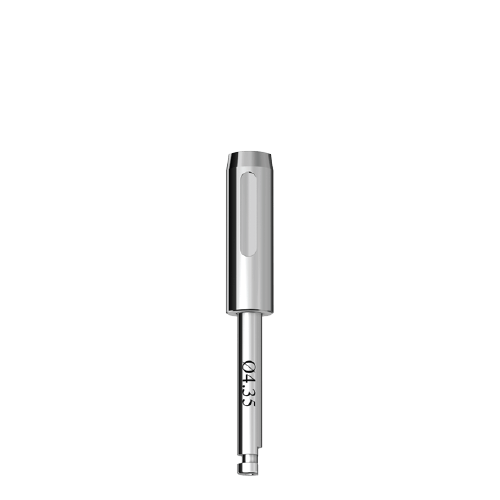
Ø4.35 Punch to cut gingival tissue
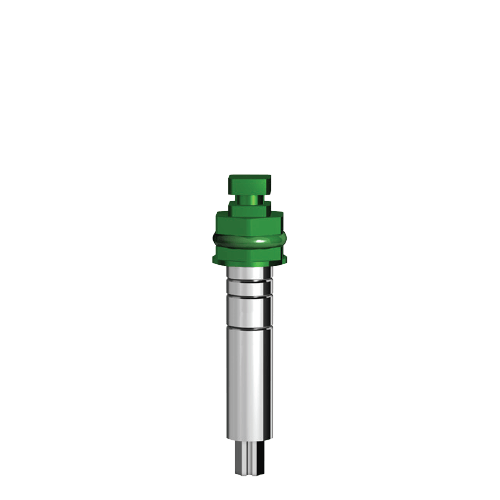
Driver for inserting the implant
Driver for inserting the implant
Driver for inserting the implant

Driver for inserting the implant
Driver for inserting the implant
Driver for inserting the implant
Driver for inserting the implant
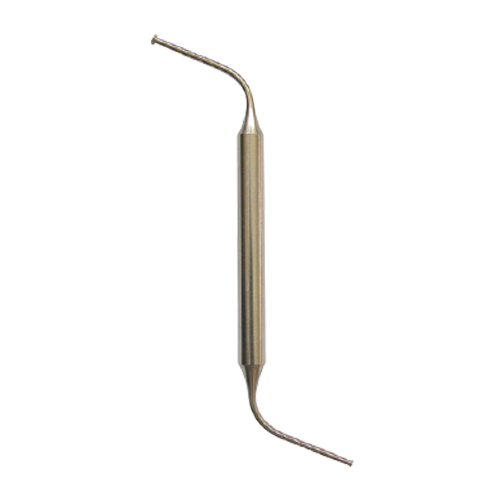
Depth Gauge
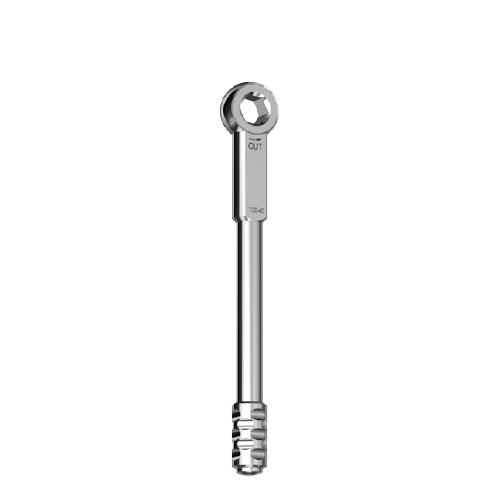
Ratchet Wrench
Hand hex driver for abutment
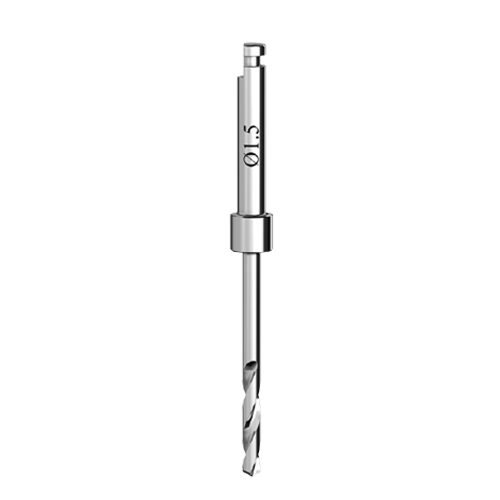
Guide Drill

Short fixation screw
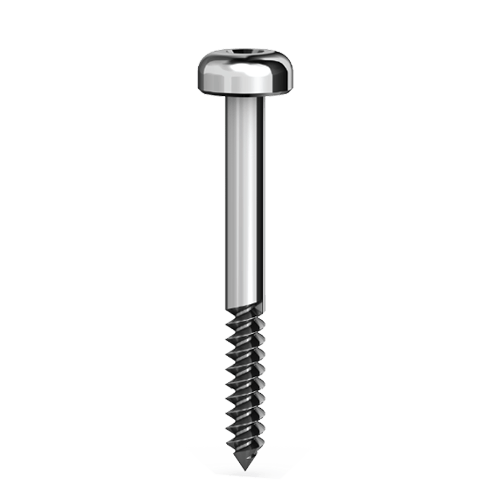
Long fixation screw
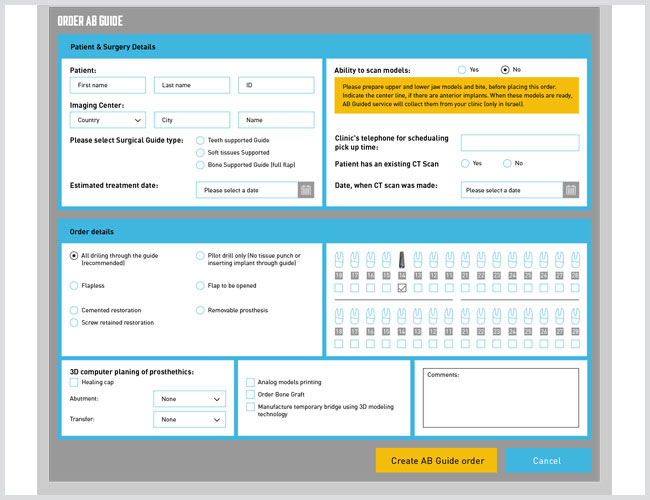
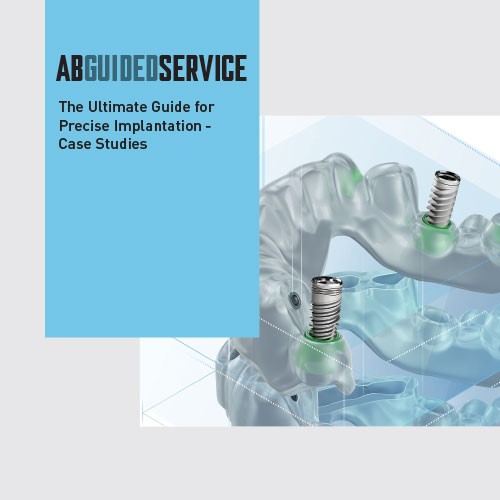
ABGuided Service allows the doctor to use the most advanced 3D Imaging Software and Technology, without having to learn how to use it. A surgical guide is printed digitally from the 3D plan, to bring the planning to the mouth. The ABGuide comes with the implants, prosthetic parts, surgical kit and even temporary bridge, for each case.
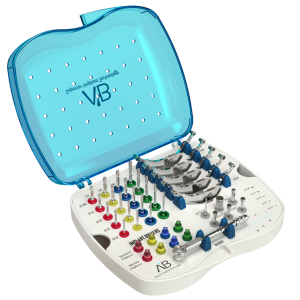
Download the training manual for doctorsThe kit comes in an organized, autoclavable box.
The Kit contains a tissue punch, 20 color-coded drills with depth stops, tissue punch, 5 drilling tools in different diameters, 3 fixation screws and 4 color-coded implant mounts to insert the implants through the guide. The report produced from the planning, gives all the information needed, including drill depths, implant sizes and abutment angles. The color-coded drills correspond to the color of the sleeves in the guide, as an added safety feature.
The colors correspond to each of the drill lengths-17, 21, 25 and 30. The drill depths are standardized as much as possible, by digitally adjusting the positions of the drill sleeves in the guide, to minimize the changing of drills during the surgery.
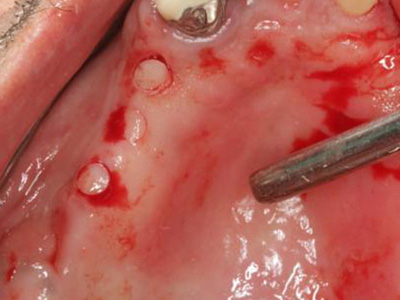
The Tissue Punch, can be used through the guide to remove a round section of gingival tissue before the osteotomy. The guide can then be taken out to complete the removal of the tissue. The guide is then returned to the mouth to start the osteotomies. The drilling sequence and drill depths are in the Report, but no additional measuring is needed. There are 3 fixation screws to stabilize the guide, usually for edentulous cases, but in any situation where the guide can move during the surgery. The 2mm pilot drill is used in the fixation sleeves to drill through the cortical bone, before inserting the screws.
Parallel shaped implants (I2 shape)
Use drills in the ABGuided Drill Kit in sequence, starting with 2mm, in the color indicated in the report,
which is the same color as the sleeve. Place the Drill Tool in the sleeve of the guide. The Drill Tool is the same diameter as the drill. Drill gradually, using water to cool the drill, until the stop on the drill reaches the Drill Tool, and cannot drill any further. Use in-out movements to reach the full depth. The ABGuided software automatically calculates the drill depth.
The drill depth is the distance to the apex of the implant, and takes into account the implant length, the soft tissue, the ABGuide and the Drill Tool. The last drill is 0.5mm less than the diameter of the planned implant. In soft bone, D3 or D4, the last drill can be 1mm less. The widest drill in the ABGuided kit is 3.65, which is adequate for implants up to 4.5. For wider implants, the drilling is completed without the guide, using drills from one of the regular AB Dental kits. The dentist should use his experience and judgment to decide on the final drill diameter.
Tapered Implants (I5 shape)
These implants have deeper threads, which can cut into bone. Less drilling is needed than for I2 shape, to enable greater initial stability. The first 2mm drill is used to the full depth. The next drills depend on the diameter and length of the implant, to create an osteotomy which is wider coronally than apically.
The apical part of the osteotomy is also about 1mm less than the apical diameter of I5 type conical implant. For example, for 3mm implant, the 2mm drill only is used. For 3.75 implant, 2.5 drill is used to the full length. Subsequent drills are not used to the full length. The last drill is 1mm less than the coronal diameter of the implant, and is used only for 1/3 of the implant length. In very soft bone, the final drill can be up to 2mm less than the implant diameter. The dentist should use his experience and judgment to decide on the final drill diameter.
AB Guided enables flapless surgery in many cases, resulting in less post-operative pain and swelling.
The AB Guide brings the treatment plan digitally to the mouth. The plan, with all the information, enables the osteotomies to be made through the soft tissue. If, however it is necessary to open a flap, all the drilling can be made through the AB tooth supported guide, in partially edentulous cases. In fully edentulous cases, if a partial or full flap is planned, there is the option of drilling the pilot drills before the tissue is opened to establish the location and angle, or to use fixation pins to locate the guide after the flap is opened. In any case, the AB Guided team is available to help you with our collective experience.
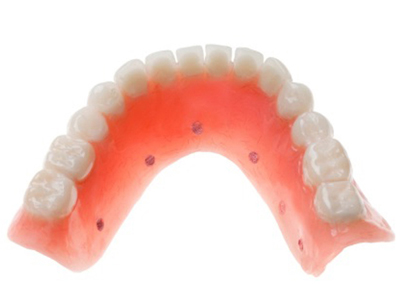
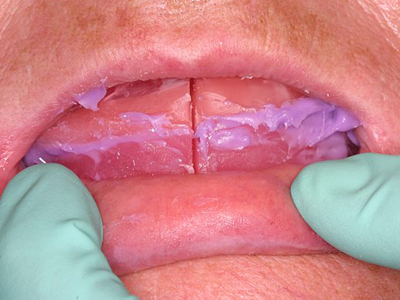
If the patient’s full denture fits well, and no major changes are planned in the position of the teeth for both function and aesthetics, then the 6 gutta percha markers can be placed in the denture. No impressions or models are needed. The denture can be relined with hard acrylic. The markers are used to integrate the CT scan of the denture into the planning software, with the dual scan technique. A 1mm round drill is used to drill 6 holes of 1mm in diameter, approximately equally spaced in the lingual or palatal side of the CT Guide. The GP markers are 1-2 mm diameter round and do not pass all the way through the denture. Gutta Percha is compressed into each of the 6 holes, and covered with acrylic.

1. Place a New AB Guide Order in the online web orders. The software will allow you to choose the appropriate options for your case, and will give information at each stage.
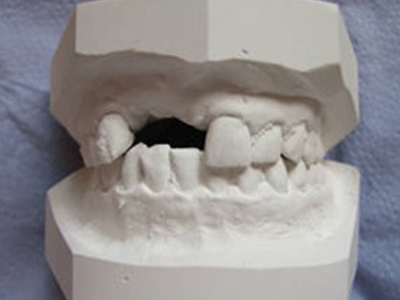
2. Make upper and lower models. If your dental laboratory has an optical scanner, they can send a scan of a model, or of an impression, instead of sending a physical model.
If several teeth are missing, a bite registration is required.
3. For implants in the anterior area, mark the center on the model or on the bite registration.
USEFUL TIP! The impression must be accurate! The implants are planned on the CT, but the AB Guide is made on the scanned model!
Any CT machine can scan for ABGuided. Cone Beam [CBCT] or Medical scanners can be used.
Very Important! Inform the scanning center that this is a case for ABGuided, especially for the Dual Scan Technique with a denture.
The guide is sent sterilized. If the package has been opened to try the guide on a model or in the mouth, it can be cold sterilized per the manufacturer’s instructions of the cold sterilization method you use. The cold sterilization process should not exceed 30 minutes.
Warning: the guide should not be heat sterilized! Please keep the guide in a cool place not exceeding 30 degrees and avoid direct exposure to heat and humidity.
The ABGuide should be placed in a cold sterilizing solution for not more than 30 minutes.
The solution must not contain more than 15% alcohol. The guide should not be used if it has become soft in the cold sterilizing solution.
The surgical guide brings the planned implant positions and angles to the mouth. The drilling depths are in the accompanying report.
The accuracy of the guide depends on the fit of the guide in the mouth, and the guide must sit in one position without “rocking”. Sometimes if the guide is not stable, a small adjustment is needed
where the sleeves in the guide are very close to an adjacent tooth, due to the software adding material to support the sleeve. The guide must be held in place when drilling, as the guide is not self retentive, even if fixation screws are used. The accuracy depends on the surgical guide sitting in the correct position.
When the ABGuided Package arrives, check that everything needed for this case is inside. Make sure that the implants correspond to the implant dimensions in the Report. If this is the first case with ABGuided, there will also be a Drill kit. The ABGuide is in a transparent package, and the guide can be seen and compared with the information in the report. If the guide is removed from the packaging it can be re-sterilized per the A.B. protocol. ABGuided Service checks the fit of the guide on the model before sending to the doctor. However, it is advisable to check the fit of the guide in the mouth before the date for the surgery. If there is any discrepancy between the model and the mouth, it is better to discover earlier. The guide is NOT self-retentive in the mouth, even if fixation screws are used, and the guide should be held in position at every drilling, as it can move.
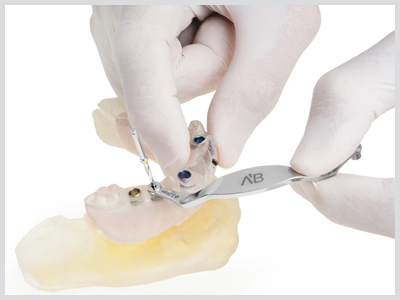
The tissue punch can be used through the guide to cut a round piece of attached gingival tissue in the exact place of the osteotomy, for flapless surgery. The guide is then taken out of the mouth, and the cut tissue removed.
A 2mm sleeve is sometimes used in the guide, instead of the regular sleeve:
1. Where there is not enough space for a regular sleeve between 2 teeth.
2. Where the planned implant is 3.0 or 3.2 diameter, especially in the maxilla.
3. If the doctor requests only pilot drills.
4. If the guide is used to drill pilot only, before an extensive flap is opened.
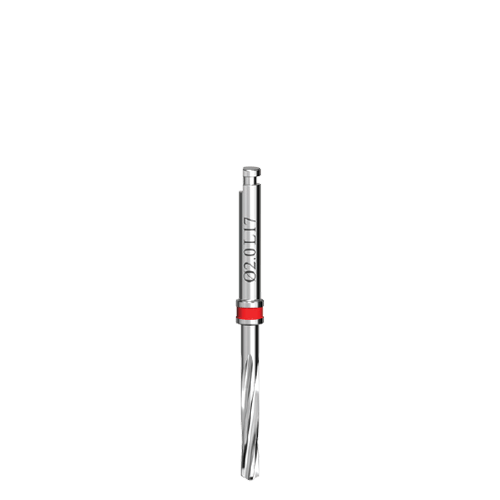
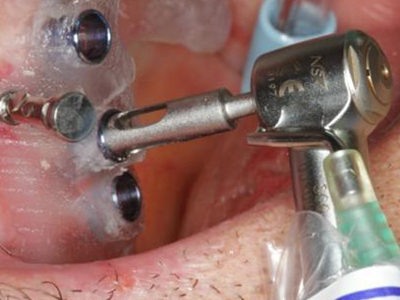
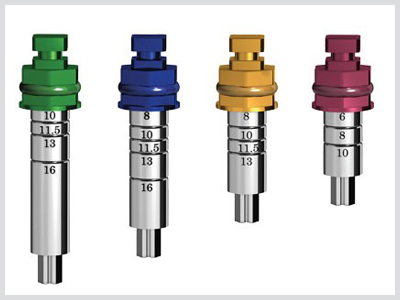
There are 5 drill tools, to correspond to each of the 5 drill diameters 2.0, 2.5, 2.8, 3.2 and 3.75. The tools are used to change the diameter of the sleeve in the guide.
They are the same diameter on both ends of each tool, and can be inserted from the buccal [labial] or palatal [lingual] depending on which direction of access is easier, and where the tool can be held while drilling.
The height of the drill tool is part of the drill depth measurement in the report, and the tool must be fully seated in the guide sleeve.
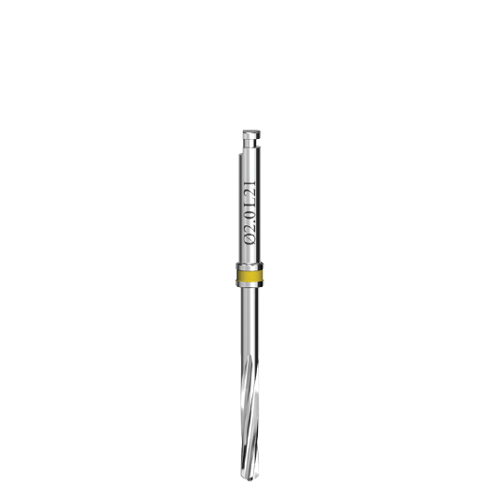
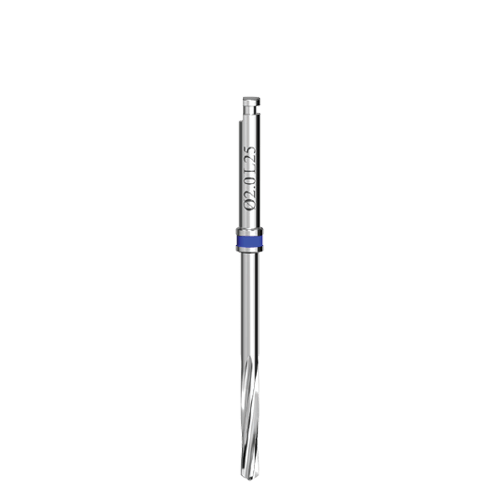
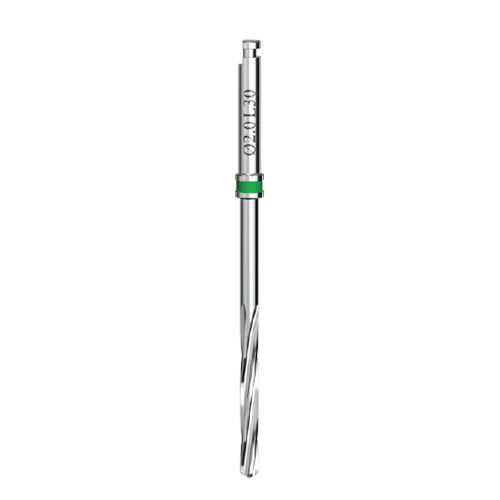
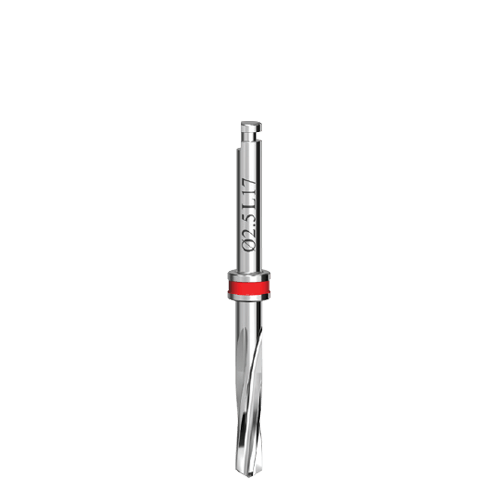
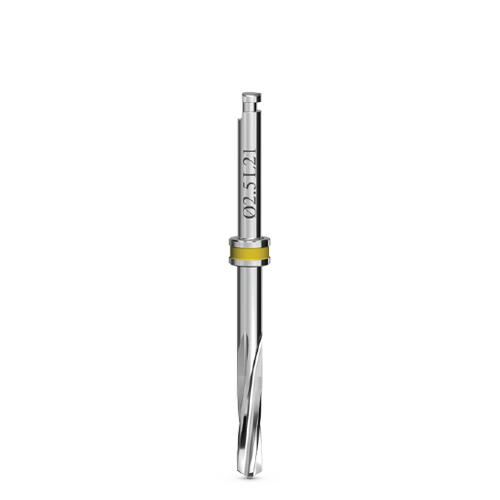
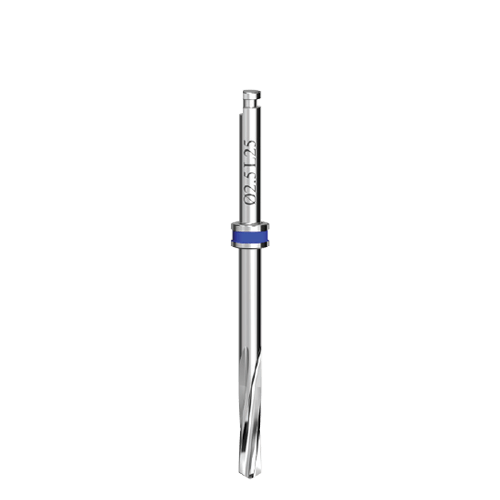
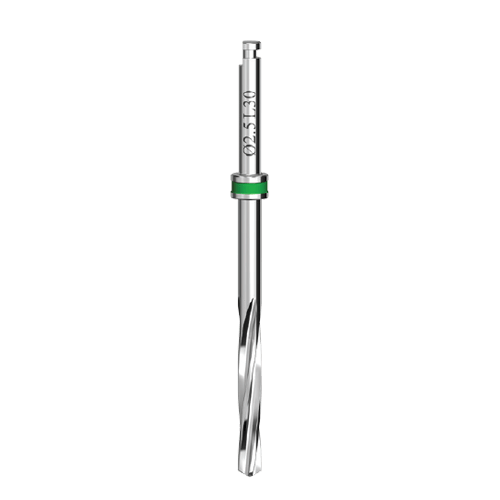
The drills are color coded according to LENGTH.
The sleeves in the ABGuide are colored to correspond to the colors of the drill depths in the Report.
RED 17mm | Yellow 21mm | Blue 25mm | Green 30mm.
The software automatically measures the total drill depth, which calculates the implant length, the gingival tissue, the AB Guide with sleeve and the Drill Tool.
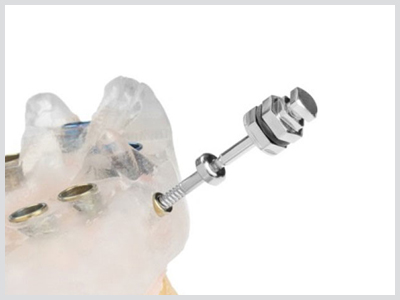
Fixation screws are used to hold the guide in place, mainly in edentulous cases. The kit contains 3 screws, and their location is planned in the 3D software. The pins do NOT prevent all movement when drilling through the guide, and the guide still needs to be held in place to ensure maximum accuracy. The 2mm pilot drill is used to drill in the fixation sleeves, through the cortical bone only! Do not drill to full depth, as the screw is self-tapping. The screw is inserted using the T1 or T2 abutment drivers. In the upper jaw the screws can often be inserted without drilling. Do not insert the screws to full depth at the beginning, so that they can be inserted further to tighten during the procedure.
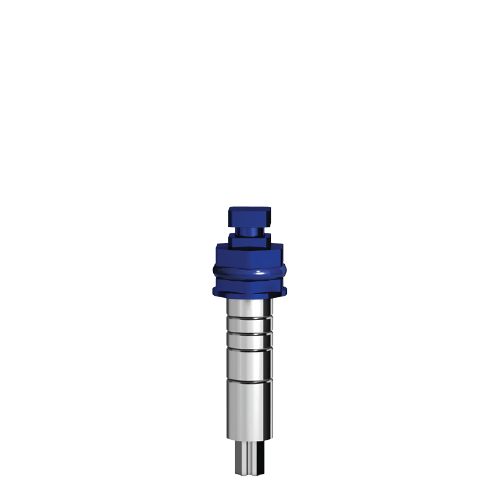
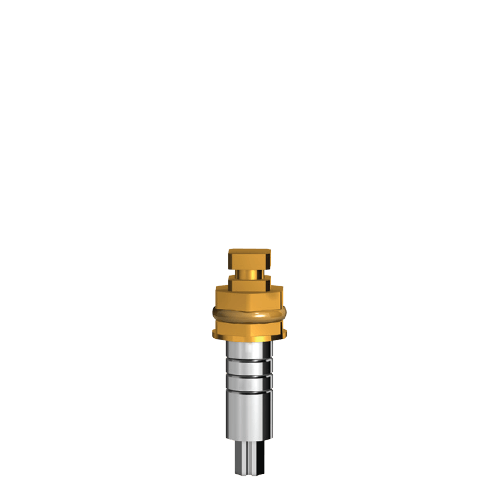
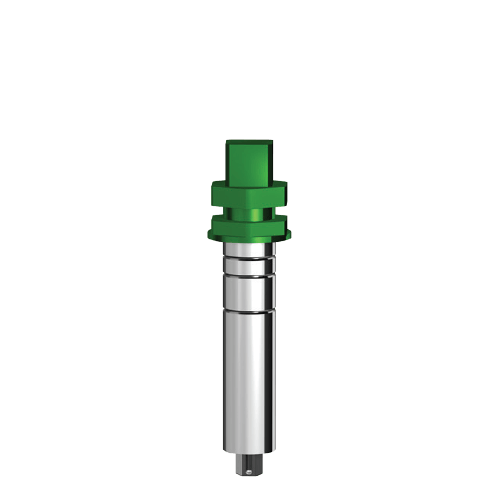
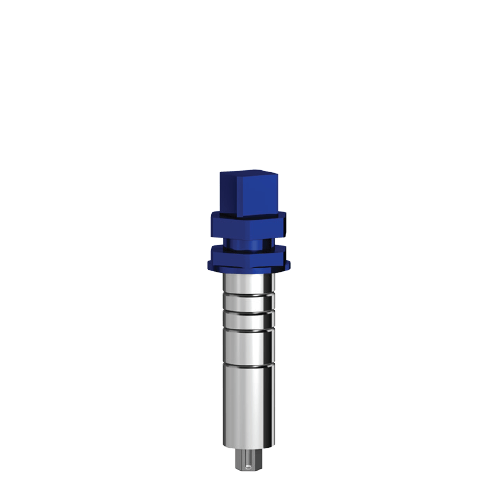
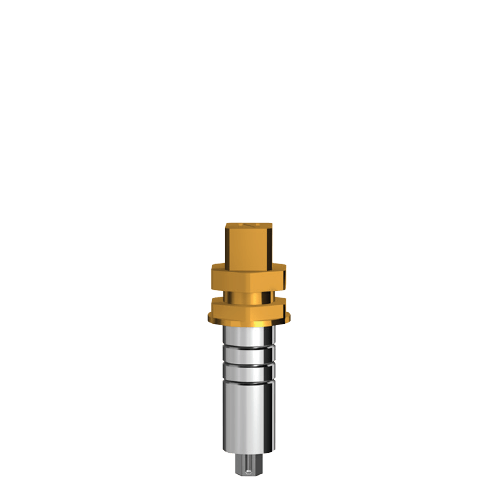
The mounts are used to insert implants through the guide, to the correct depth and direction. The implant is first inserted with the standard mount in the implant package, and then the colored mound is used according to the color in the report, and the length of the implant.
USEFUL TIP! The mounts insert to the correct depth in flapless cases, but also place the implants in the right direction in soft bone.
In some locations in the mouth it can be challenging to drill through the guide, due to lack of space. This is especially true where the drill depths are long, or with angled implants. Start with a short drill, and gradually increase the drill length. The next drill can be placed in the osteotomy which has been started, and the hand piece connected to the drill in the mouth. It can also help to insert the drill in the drill tool, and bring them together to the mouth.

AB Denpax is free software, and can be downloaded from this link:
Denpax software download
AB Denpax can also be used to store and view all CT Scans. The user name and password can be used to view CT scans and AB Guided Orders from any computer or iPad.
Sounds interesting? Contact us and we will get back to you.